This is the second and final part of the Making of Night Cafe series. For part 1 click here.
Unity and Scene Construction
Once I had all the assets built and ready for Unity I constructed the scene. While most of the objects were unique, there were several objects that were duplicated such as the tables and chairs. In order to maintain that handcrafted, one of a kind appearance I made sure to not actually duplicate them in Unity but instead to do it in Maya and then warp each one so they were in fact customized even if they shared the same textures.

The environment rendered with lights and normal maps
I had originally intended to give everything a Standard Shader within Unity that I would apply normal and specular maps to. I had already made several of the normal maps, mainly for the walls that I was able to test with. I had to use several directional lights in order to give the scene the look of freshly painted brush strokes along the surfaces. The specular highlights gave the look of the paint still being wet which was interesting but the overall look wasn’t as striking as I was hoping for. It ended up feeling a bit like you were standing in a painted box rather than stepping into a painting and being enveloped by colors. After much slider tweaking and fiddling with texture maps, it still wasn’t looking great. One issue was with normal maps and the way they produce a subpar lighting effect in VR because of the way each eye should be rendering the highlights differently — they lack depth in VR and it becomes very apparent at close proximities. Parallax shaders produced very interesting results but caused all kind of issues at texture seams and ultimately would have been too heavy on the processor for the Gear VR. On a whim I tried using the textures in an unlit shader — this means that the lights in the scene have no affect on the material and instead the color information is rendered directly to the screen.

While the painted texture added some realism to the lighting style, it was not the look I was going for
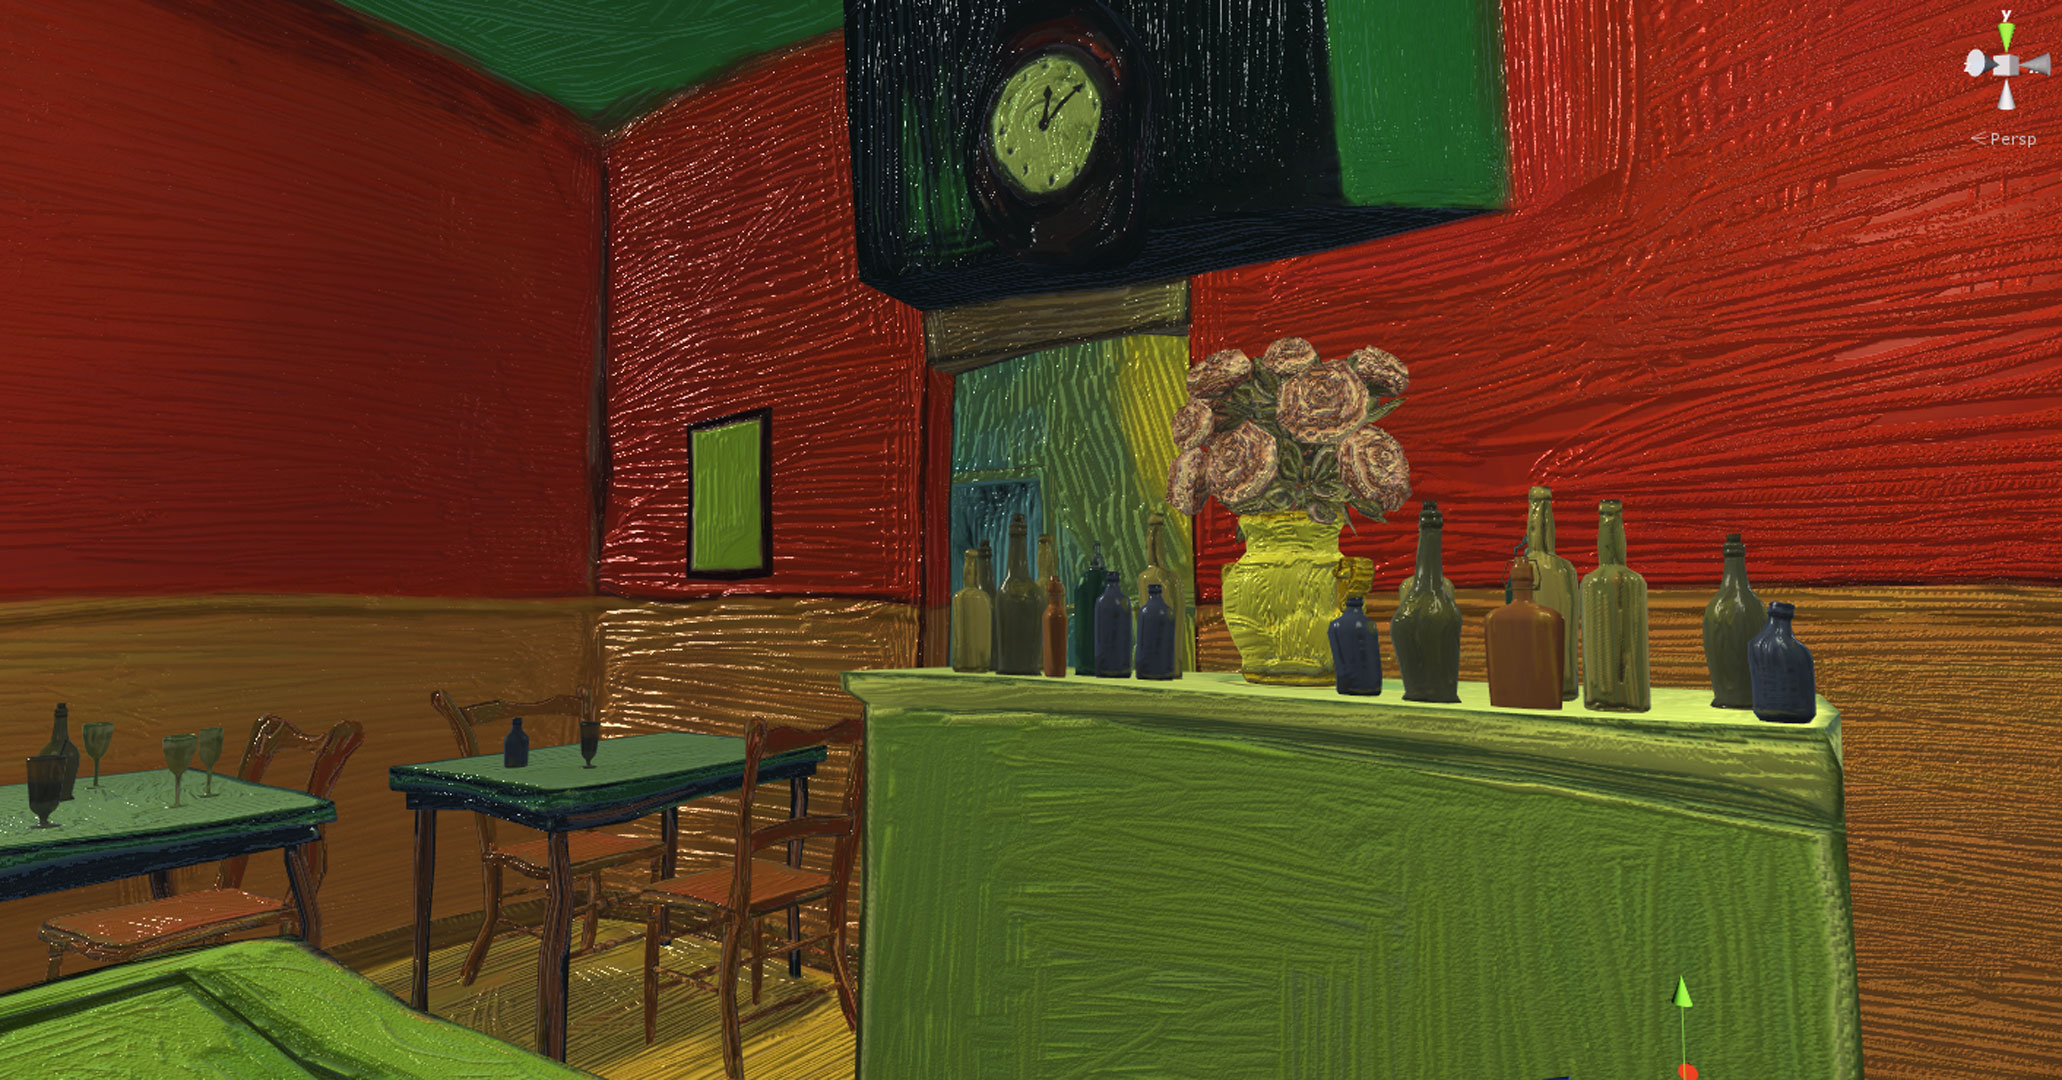
It became apparent very quickly that this was the way to go because it gave the most direct experience of Van Gogh’s colors as everywhere you looked things were saturated and it helped to blend the edges of objects with the background, another quality of the paintings I was trying to convey. Not only did it look better but it also was the best for performance and I wouldn’t have to worry about eating up processing power with lighting.
Movement & Control
Movement is one of those areas of virtual reality that has many people looking for the ideal solution. I don’t think there is a one size fits all approach and I also don’t think you can come up with a solution that will eliminate all simulation sickness potential but there seem to be a few rules of thumb:
- Don’t take control of the player’s camera and move it erratically — this is the #1 way to make people sick, even those with an iron stomach. In general, this means cutscenes have to be rethought and things like head bob for first person shooter cams have to likely be dropped.
- Acceleration is more uncomfortable than constant velocities — in real life people can perceive acceleration whereas they cannot perceive constant velocity (physically, not visually). This also does not take into account small vibrations and rumbling that might also be present if a person is moving in a vehicle but as far as G-forces go, which I think is the main consideration, there is no difference between moving 50 mph at a constant rate vs standing still. This means that experiences that include a ton of acceleration may cause more discomfort.
- Providing some kind of reference for movement can be helpful — things like cockpits, body suits, grid overlays, and virtual noses (strange, I know) can help, some probably better than others. I noticed Time Machine VR adds not only a cockpit but also a transparent grid surrounding the areas around your direct focus that gives you a sense of the objects around you staying still to help anchor you.
With those ideas in mind I think there is a lot of potential for movement in VR, and I’m sure there will also be many experiences that are designed without movement. I believe things like seat haptics will help to reduce sim sickness and also provide more believable worlds, but that is probably a couple years off.
For Night Cafe I knew I wanted movement because I wanted to give the player the chance to explore at their leisure and not be taken out of their ability to role play by imposing teleportation mechanics such as fades or cuts. Even though the environment is stylized I think there is still a lot of potential to get people feeling immersed in a fantasy the same way a Disney World attraction might. In movies it’s called the suspension of disbelief and I think it applies to VR as well because people will always have to give into the experience to some degree to get the full effect.
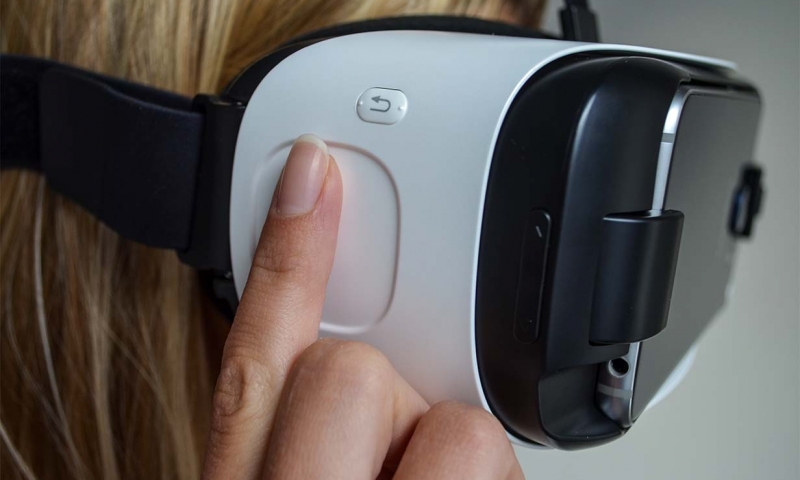
The touchpad had all the input capabilities I needed for simple movement
Early on I envisioned using hand tracked controls such as Razer Hydras to allow for more interactivity. This went along with my goals to create minigames such as billiards but due to time and a refocusing of goals this went by the way side and instead I focused on pairing it down to be the simplest and hopefully most intuitive control method. For the Gear VR I tested using a gamepad but because the interactivity and overall control options are very limited, I thought it was best to use the touchpad on the headset.
I knew I wanted the ability to crouch and walk around. Crouching was important for this experience because it allowed you to get the feeling you were sitting next to some of the characters as well as to get different vantage points such as outside the window. I ended up simplifying it down to require the player to rotate physically to orient yourself because this seemed the most natural, and because the Gear VR is an untethered experience, people could feel free to spin around all they wanted without getting tangled up in cords. Tap and hold was the most straightforward way of going forward — I considered swiping forward continuously, and I think this could have worked too but might have been trickier for non gamers. I had to delay movement by a fraction of a second to give time for a potential swipe before moving; I didn’t want people moving forward and crouching at the same time as it seemed like that might give people discomfort.
The only thing left to decide was how fast the player should move. I have a pretty strong stomach for VR so it was important to test on others, such as my fiancée, who was a gracious subject for these tests. It was her feedback that allowed me to fine tune the movement speed and also where I realized it was probably better to eliminate the small amount of acceleration I had. Going from 0 to 100mph in 1/60th of a second might feel jarring but luckily the character’s speed was a very slow stroll so it wasn’t a big deal.
Optimization
Optimizing for the Gear VR was surprisingly straight forward. Many of the techniques you might use for a PC game can and should be used for mobile. The key techniques I used were texture atlasing, object mesh batching (both manual and at runtime), occlusion culling (mostly manual), texture compression (ECT2), and limiting the particle counts (compared with PC).
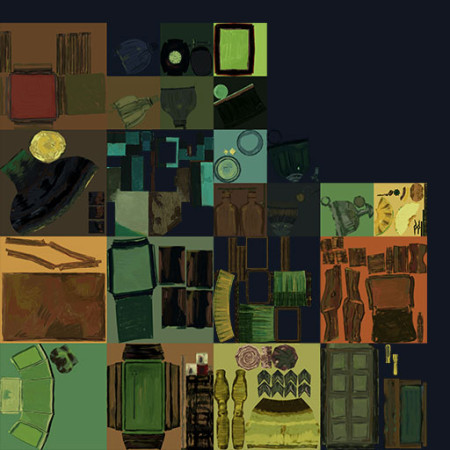
Combining some of the props into an atlased texture
I used an asset from the Unity Asset Store called Draw Call Minimizer that batched and atlased textures with a very small amount of manual setup. This reduced my draw calls quite drastically, by around 75%.
I ran into a number of issues getting the build to run on the Note 4 running Lollipop (Android 5.0 +). It turns out Lollipop uses more of the system memory than KitKat and therefore leaves less to be used by applications. Night Cafe is texture heavy and this meant I had to make sure all my textures were compressing properly as ECT2 using Forced OpenGLES2.0.
The other big factor in performance were the particles which I was using a lot of for the lamps and stars. I used a combination of reducing the overall emission rate without a noticeable visual hit, and also using custom culling triggers to turn on and off particle systems that were causing the biggest performance drag. I used these custom culling triggers for characters as well as they tended to be heavier.
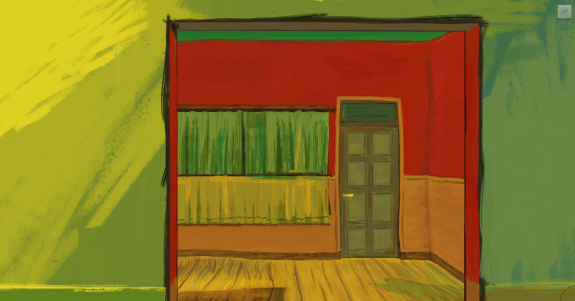
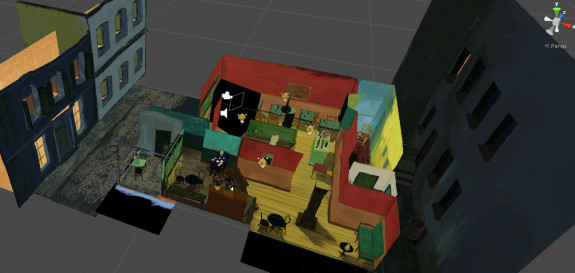
A look at the café without the props and furniture
Wrap Up
So that’s it for this write up. I had a lot of fun on this project and it really convinced me that there is still so much to be discovered in VR content development. The experience is available now on the Oculus Store for Gear VR as well as Oculus Share for DK2.